Website templates are amazing tools for building an intentional and intuitive website on a budget. I’ve talked a lot about the benefits of using a website template and how easy it can be. But I also know that there is some work that goes into getting a template ready to launch so I wanted to show you how to set up a Showit website template in 4 easy steps to reduce the overwhelm.
Step 1: Website prep
Most website DIY-ers make a big mistake by blindly diving into editing their website platform without doing any prep work first. I know you’re excited to play with the design and officially launch your site, but doing this prep first will not only make it easier to build your site but also make for a much more successful website.
So before you get too excited about changing the colors and images on your new template, take a minute to do the prepwork. It might be the longest part of the process, but I promise it will make things much easier in the long run.
Here are the things you’ll want to work through in this step:
- Create your website strategy
- Write your content
- Gather and optimize images
- Secure or transfer your domain
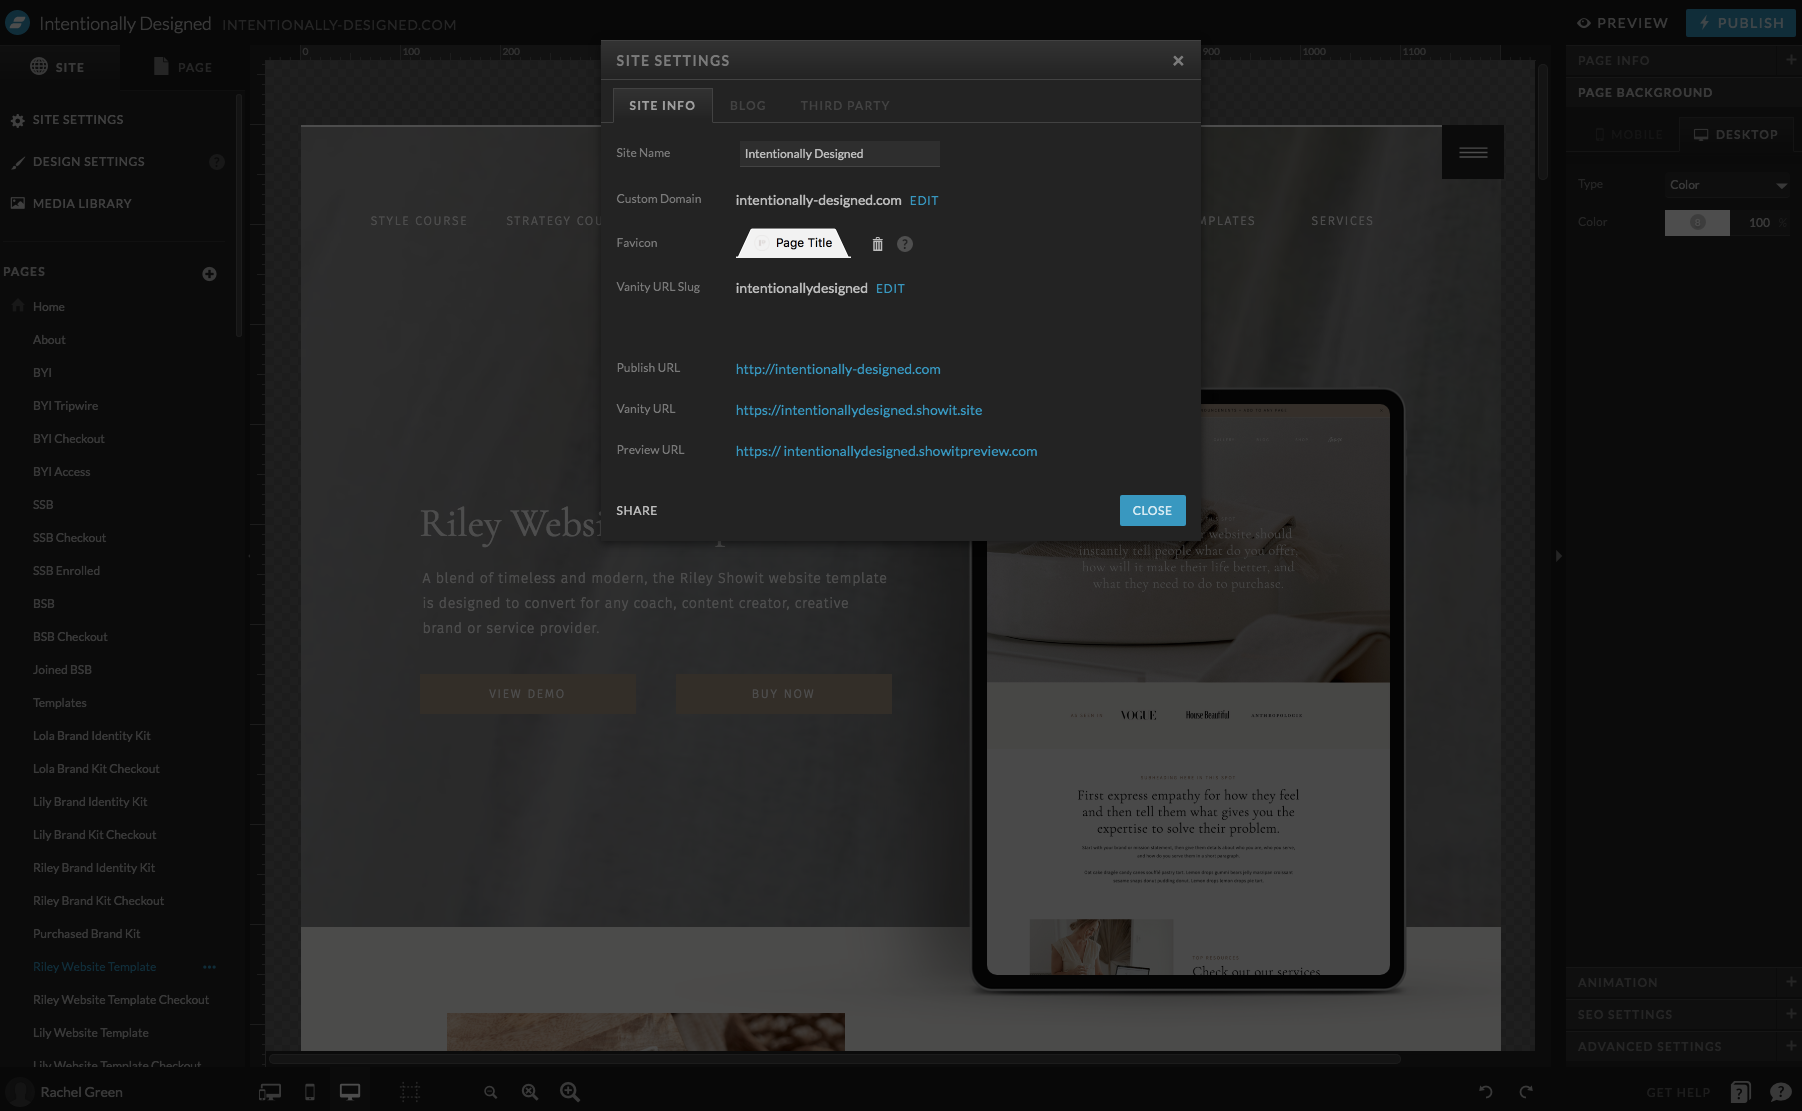
- Set up your Showit account (and familiarize yourself with the platform)
- Install your template
- Set up your coming soon page
- Start domain connection and blog set up or migration
Step 2: Edit your site
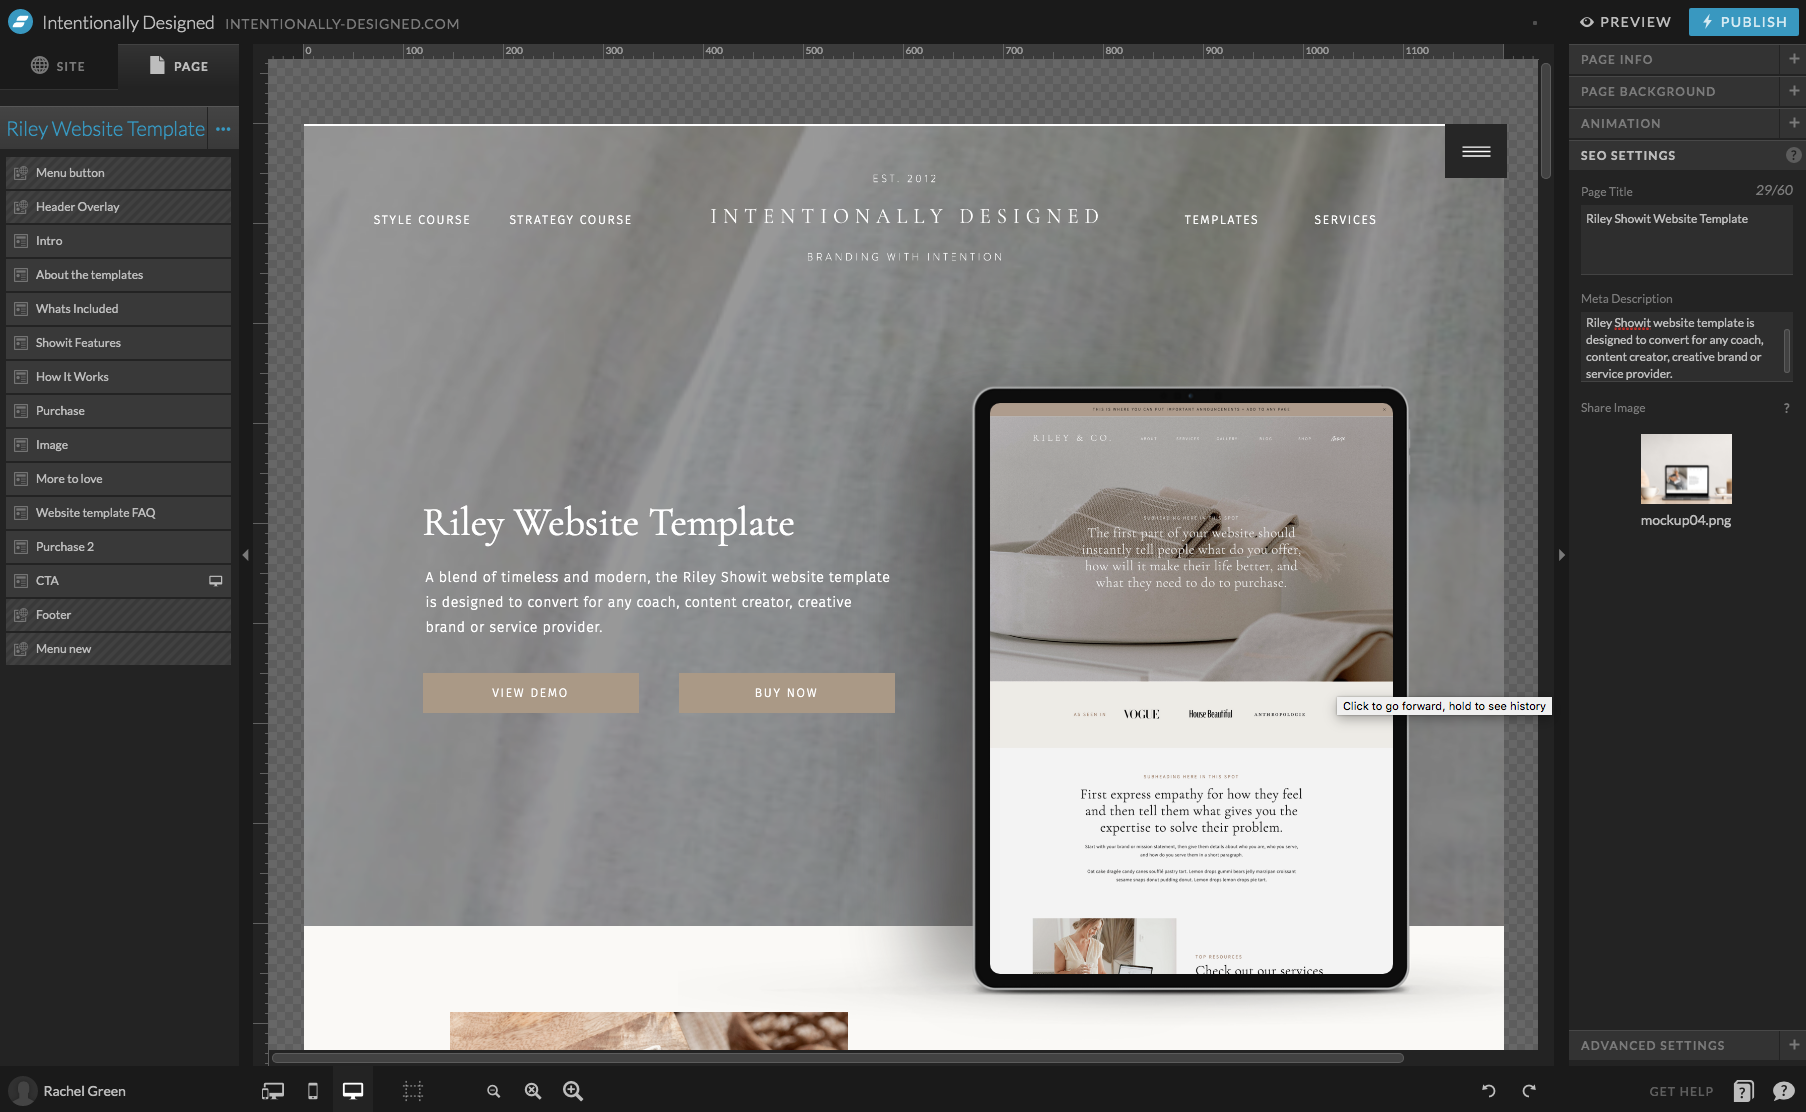
Now that you have all the elements of your site ready, you can start putting it together. Even though your site may technically be live with a coming soon page, you still need to customize the rest of the pages so you can officially launch your site. If you did the prep work from step one, this should be pretty easy to plug in all the copy and images.
This is what you’ll work through in this step:
- Upload your (already organized) media
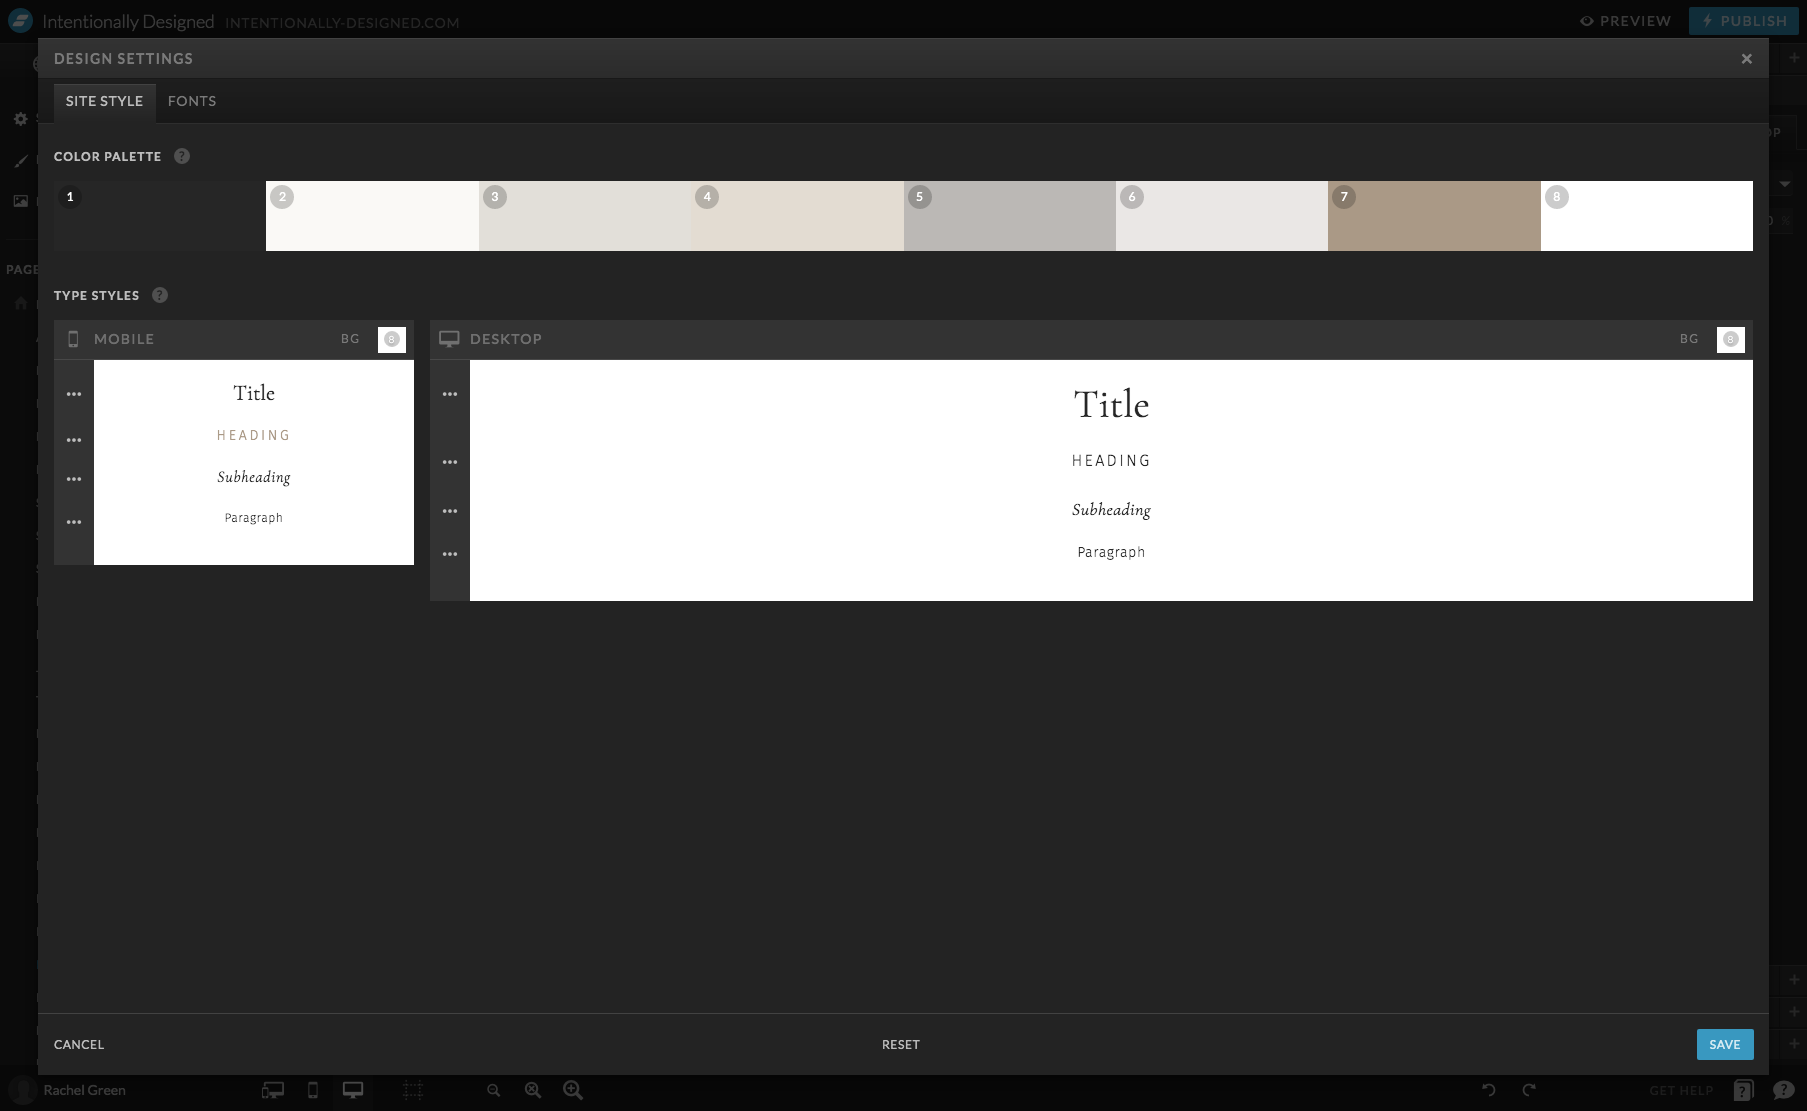
- Change the fonts + colors for your brand
- Swap out content + images
- Connect to apps (email list, IG, etc.)
Step 3: Prep for launch
The hard work is done and now it’s time to get to the details and polish off your site for launch. Before you can launch your site you want to take a little time looking at the tech details and making sure everything is squared away behind the scenes.
These are the things you want to finalize in this step:
- Check your blog content and set up
- Check page names and sets up URL redirects if needed
- Create an email list opt-in offer
- Go through a launch checklist
Step 4: Make it live!
Once you have all the t’s crossed and i’s dotted, you’re officially ready to launch! If you skipped your domain connection in the first step, now is when you’ll want to go back to that to make your site live and celebrate!
Recap
Learning how to set up a Showit website template doesn’t have to be intimidating. In fact, that’s why I created so many resources that pair with each template so that you don’t feel lost and alone when setting up your new website. Taking it one step at a time is the best way to utilize a template and get the most out of your site.

Next Steps
If you’re ready to tackle a template, check out the Showit website template designs available and get started today. You can have your new website up and running in a week (or less) with a strategically built template and guided resources.
More Resources
- How to DIY your website the right way
- Why website templates are the best option for emerging brands
- Website Planner + Content Workbook
- FREE Website Image Guide
- Showit website templates
Save this Article
Enjoy this article and find it helpful? Pin this image on Pinterest so you’ll always have this info on hand!