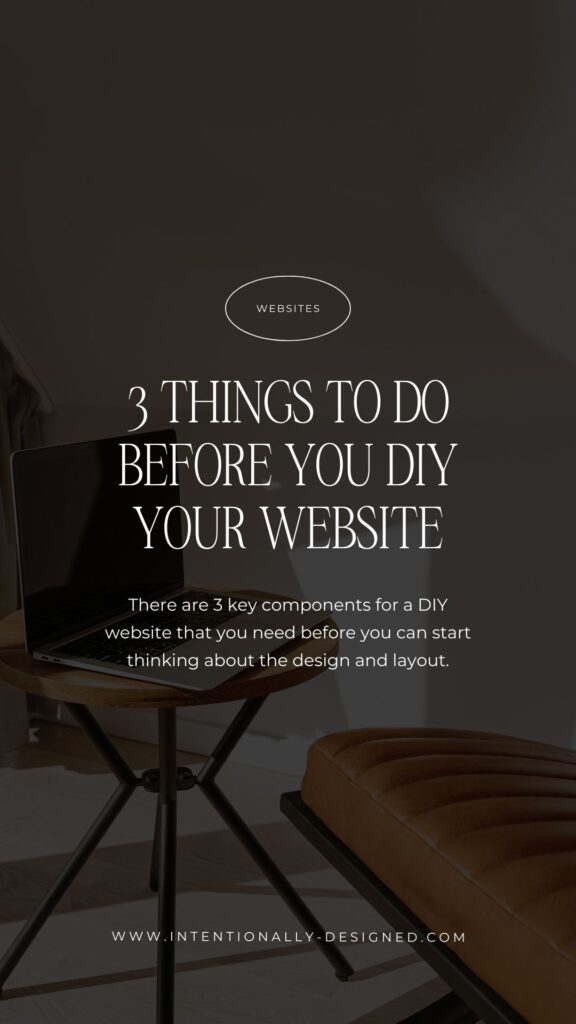
So often, I see people dive into their DIY website by focusing on the design and development of their website without having thought about what their site might actually say or do for their audience. As a result, their website lacks brand consistency, has confusing navigation, and their content and messaging are often unclear. But there are 3 key components for a DIY website that you need before you can start thinking about the design and layout.
Step 1: Planning
The visual presentation of your website is very important, but you can’t get very far without strategy and content to back it up. You need the strategy and copy of your site to make sense and be powerful on its own before building it into pages on your site.
Before starting to build out your site, you want to:
- Revisit your brand foundation
- Determine your website purpose and goals
- Map out the behavior flow
- Determine the navigation and sitemap
These are crucial parts of the planning phase that will result in a much better outcome for your DIY website. If you dive into the design without a plan, you’ll end up with a scattered and confusing website that might look pretty but won’t really do its job.
Step 2: Content
Did you know that 60% of consumers feel more positive about a brand after consuming content from it. There’s proof that people are reading the words on your website. And on top of that, they put value in those words. If done correctly, your content can give your readers reassurance that they are in the right place and that they need to know more.
When you say the right words and speak to the right person, you build a know/like/trust factor with them. You build a connection with them and leave them with a great first impression of you and your business.
The visuals of your site definitely matter, and ultimately help to convey the right message, but the words on the page are what connect to your reader, explain your message, and bring it together.
After you map out a plan for your site, you can work on the content by:
- Outlining your pages
- Writing the copy
It helps to outline the pages on your site first so you have a general idea of what is going where and can look at it from a big picture perspective. Then you can hone in on each page and write the copy for each section one at a time.
Step 3: Branding
You can’t really start customizing your DIY website until you have all your brand assets ready to go. You need your own logo, colors, fonts, and images to truly make the website your own. Gathering all of your branding assets ahead of time will make it much easier to implement when you sit down to build the site.
You can get all the assets for your website by:
- Prepping your brand assets
- Gathering and optimizing your images
Recap
Making sure that you have everything you need to design your DIY website is so helpful and makes the process go much easier. Then once you’re ready to start building your site you have everything you need to plug into the design. Even when working with custom clients, I go through this same process to ensure that we are thinking through things in the right order.
Next Steps
Take some time to work through these things before building your website. Once you have your strategy, content, and brand assets ready you can think about the design and layout of your site.
Need help? Grab a website template to use as a starting point. Plus, you’ll get access to a full website strategy + content planner that dives deep into developing each of these areas with you for a more powerful and effective DIY website.
More Resources
- The best and worst times to use a template
- Why website templates are the best option for emerging brands
- How to set up a Showit website template
- FREE Website Image Guide
- Website Planner and Content Workbook
- Showit Website Templates
Save for later
Enjoy this article and find it helpful? Pin this image on Pinterest so you’ll always have this info on hand!